Vehicle compliance software for £1 per vehicle
Paperless defect reporting and fleet maintenance for fleets of all sizes, all for £1 per vehicle, per week.
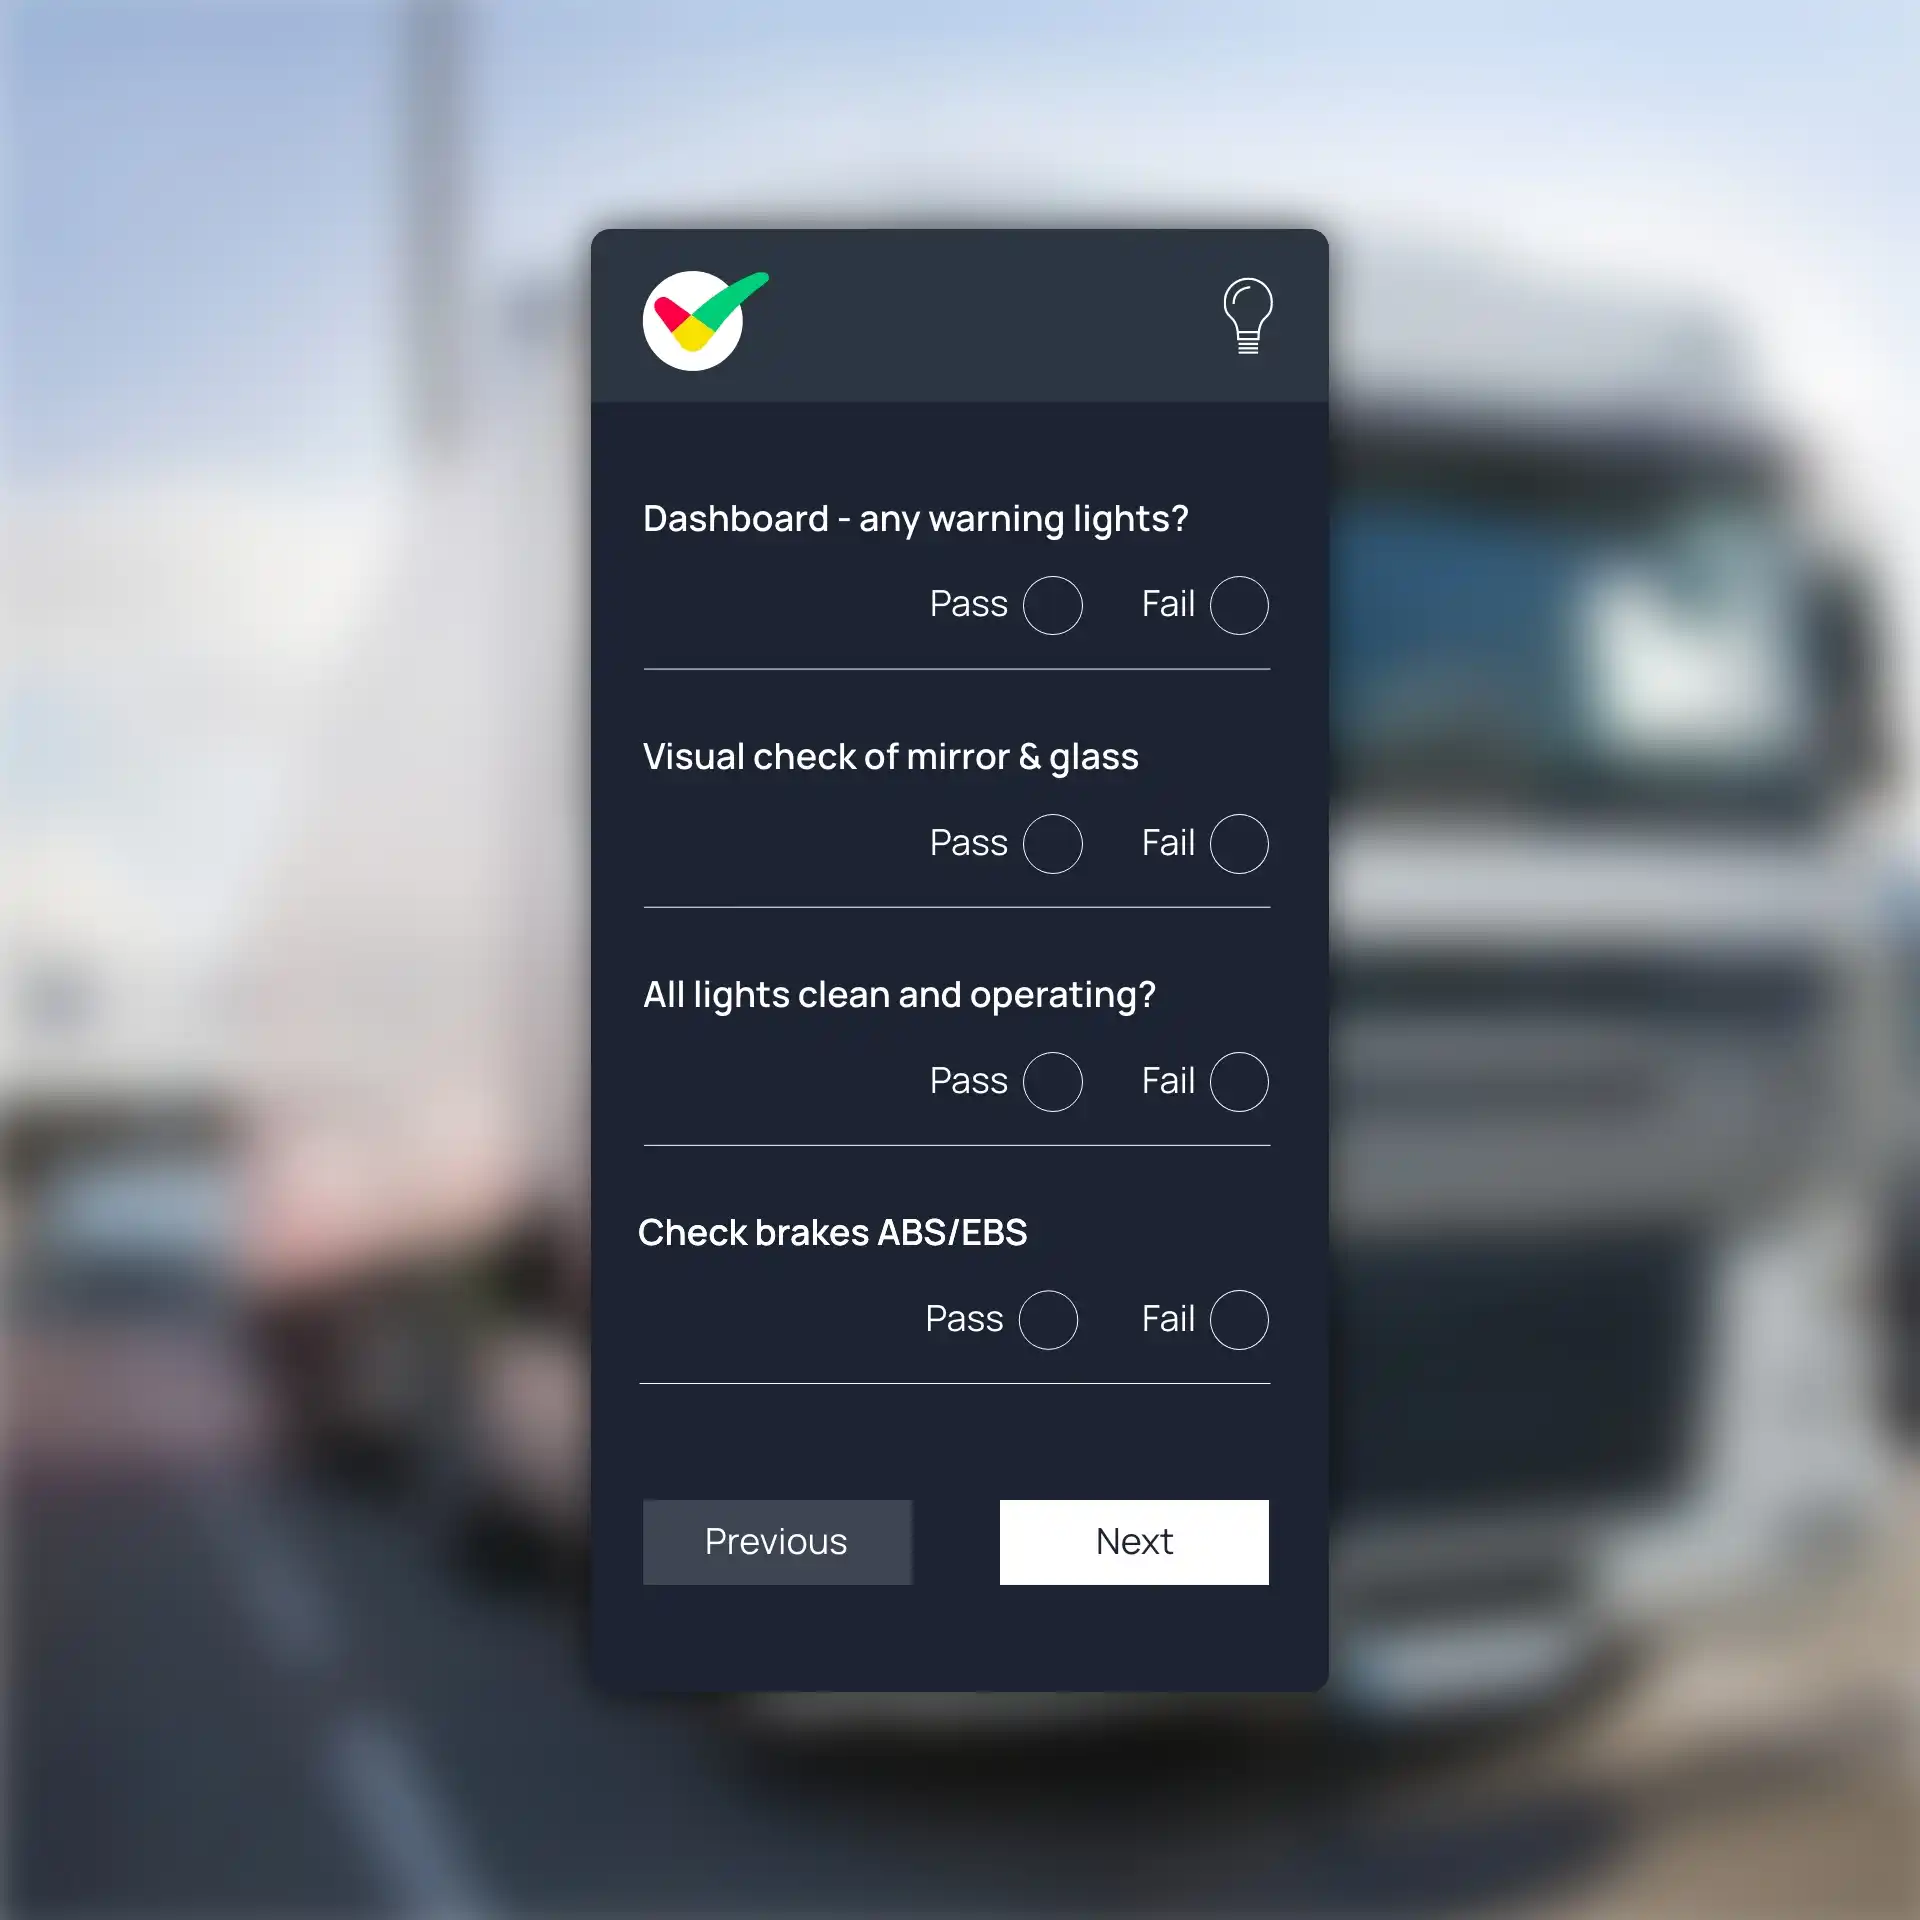
Vehicle Compliance
The award-winning vehicle compliance system designed for all fleets, complete with digitised vehicle defect reporting and vehicle management portal.


We believe in working smarter, not harder. Transform your fleet management effortlessly for just £1 per vehicle, per week.
Simple to use

Our Vehicle Compliance app and portal are built with an intuitive interface that makes navigating the software easy for users of all experience levels.
Built-in GPS monitoring

With built-in GPS monitoring, our app accurately pinpoints location, tracking drivers as they move around the vehicle so you can rest assured all checks are completed thoroughly.
Quickly identify defects

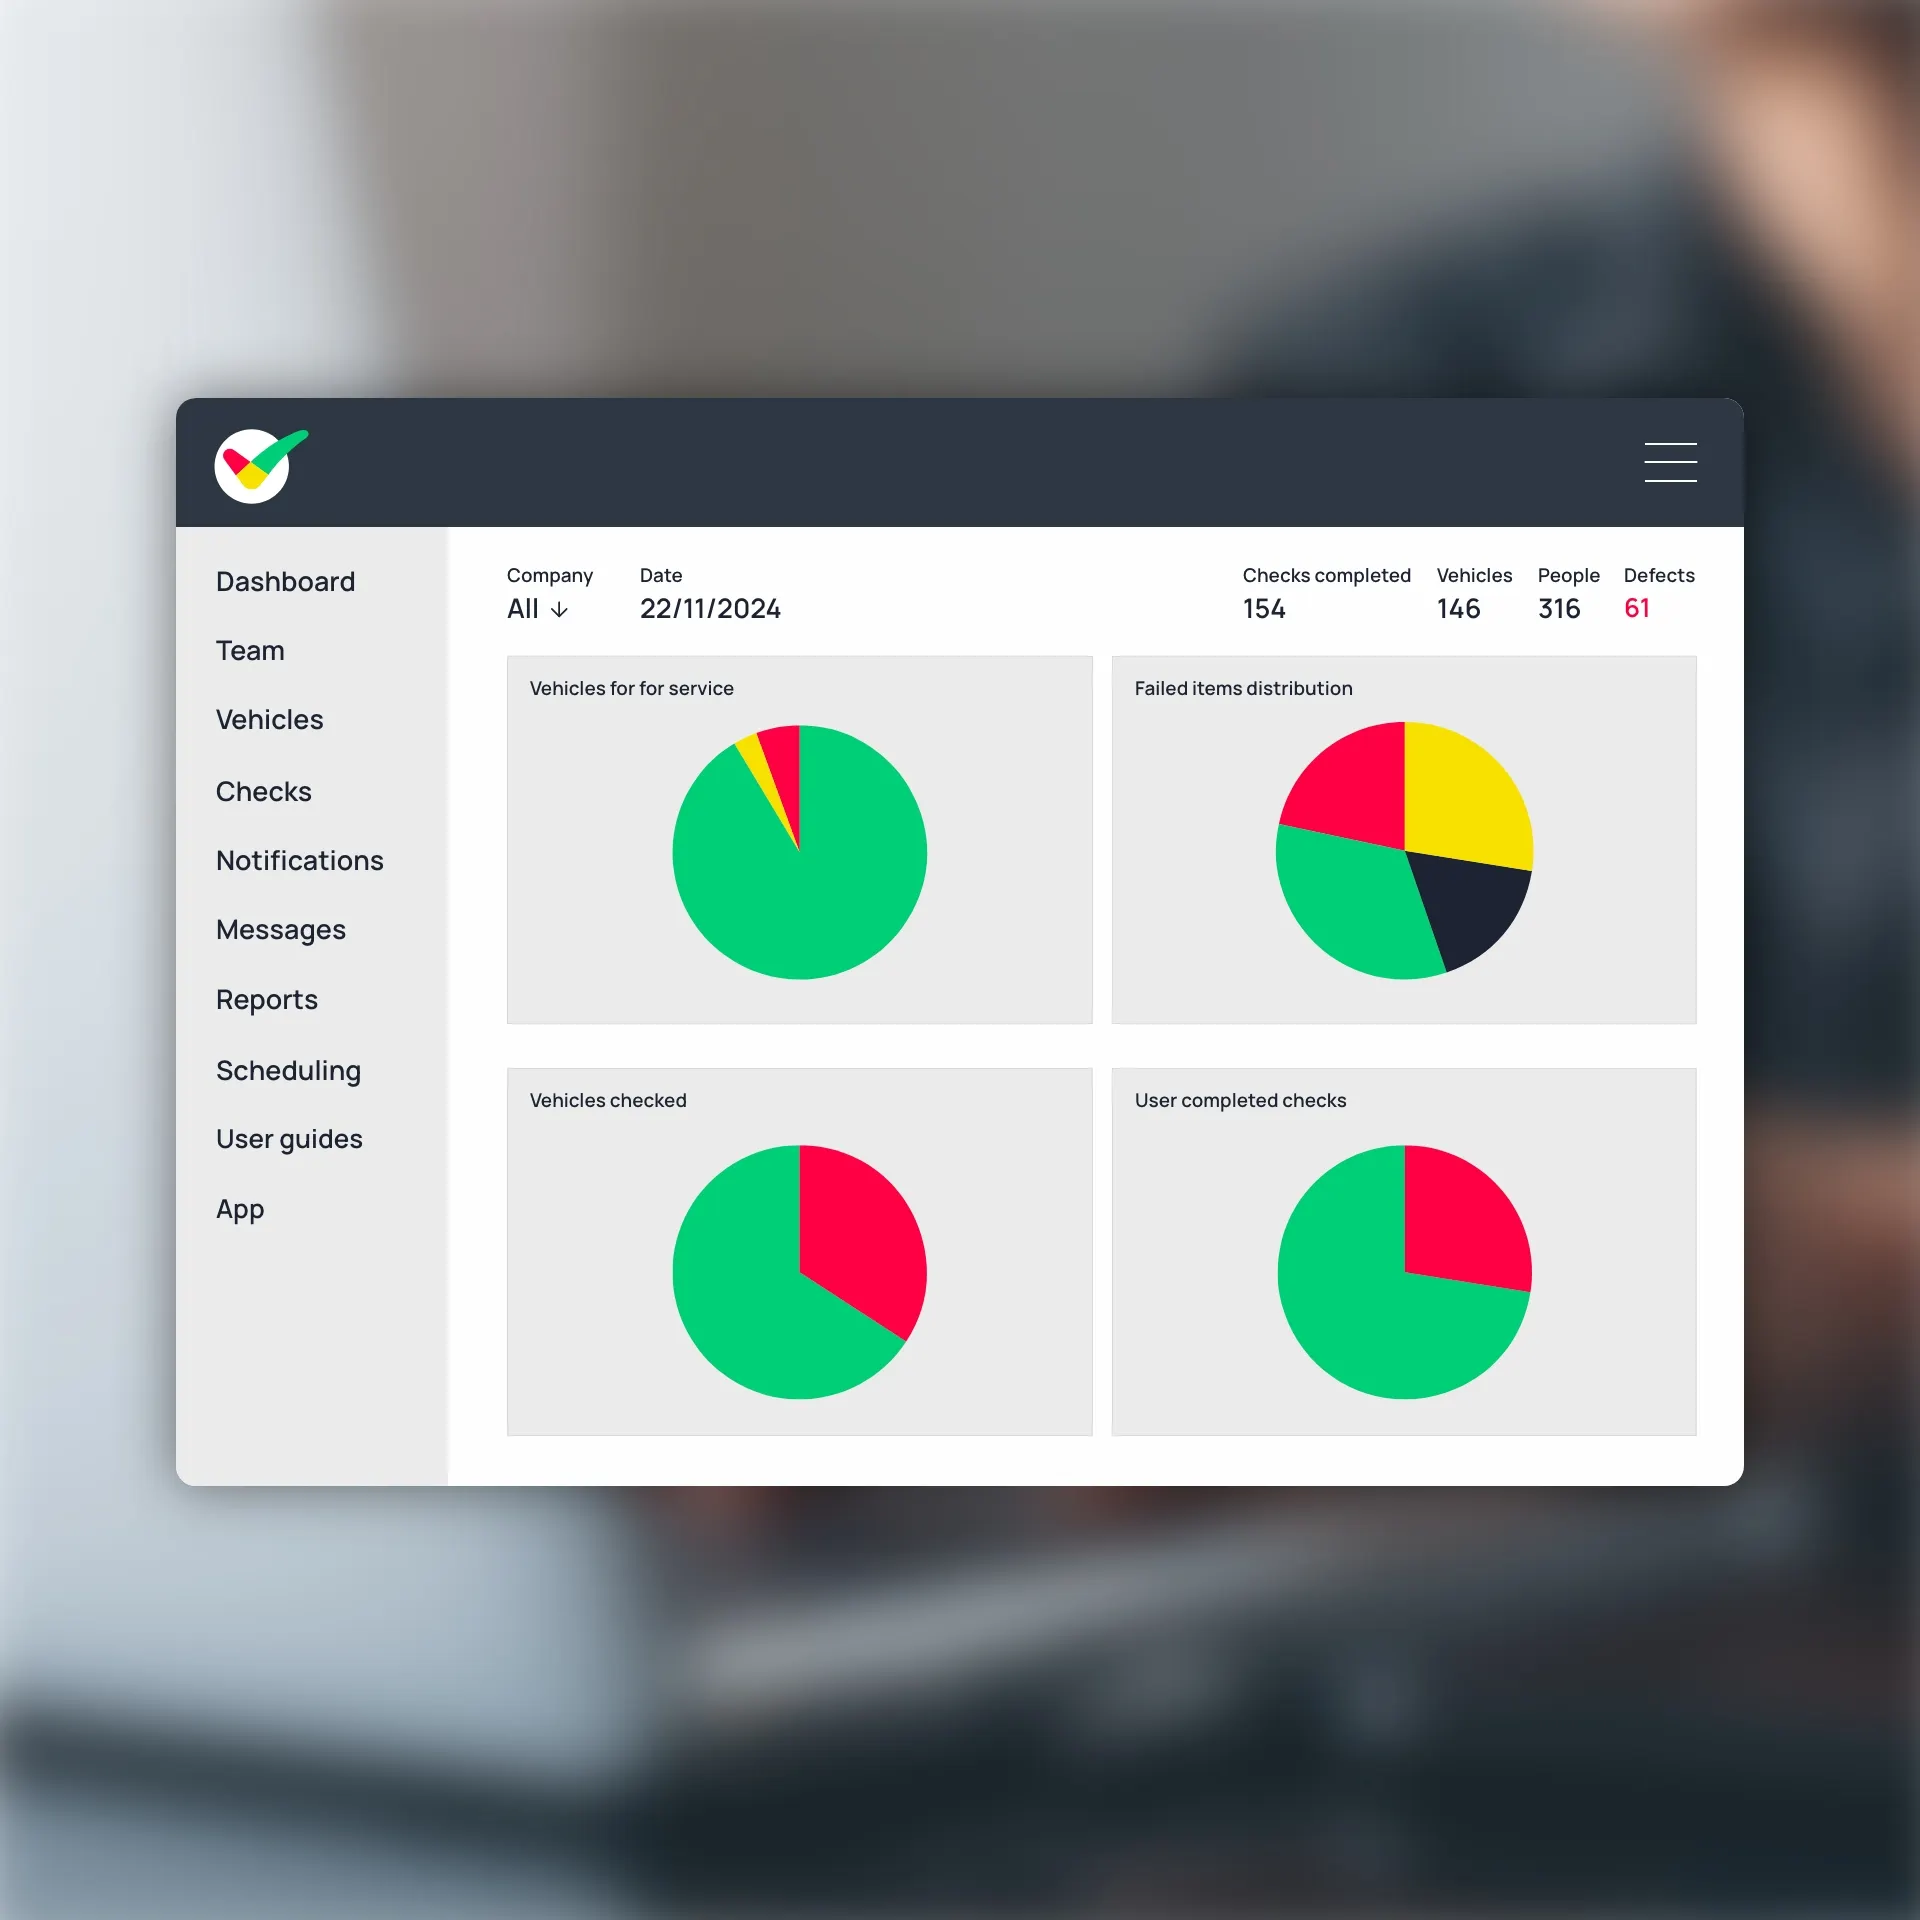
Get detailed information about the location of each check, the amount of time it took, how many checks passed and failed, and view complete end-to-end audit trails which capture the failures reported.
Complete monitoring and reporting

Monitoring the maintenance of your fleet has never been easier. Our system utilises a range of reporting tools so that you can view vehicle KPIs easily, and all reports can be viewed online or downloaded for further analysis.
Available offline

Drivers can continue to perform their checks and report any issues without interruption, even in areas of poor connectivity. All reports are stored until the device has signal again.
DVSA earned recognition

Our system complies with the DVSA Earned Recognition Scheme, allowing you to prove with ease that your vehicles and drivers meet all necessary standards. This reduces the likelihood of roadside inspections.
Driving Licence checks
With a direct link to the DVLA ADD service, our Drivers Licence Checking Service offers a cost-effective, innovative and user-friendly solution for businesses and fleet managers to conduct licence checks.
Driver’s hours monitoring
Our software lets you easily keep your fleet within the legal boundaries of the Working Time Directive and GB Domestic Hours rules, protecting you from costly fines and potential prosecution.
Thousands
of companies that trust CheckedSafe to streamline their safety and compliance processes.
150,000+
Individual users throughout the UK and Europe who rely on CheckedSafe’s compliance solutions every day.
1 billion+
Individual data points collected since we launched, ensuring precise and reliable compliance data for all users.